Photospheres unity project instructions
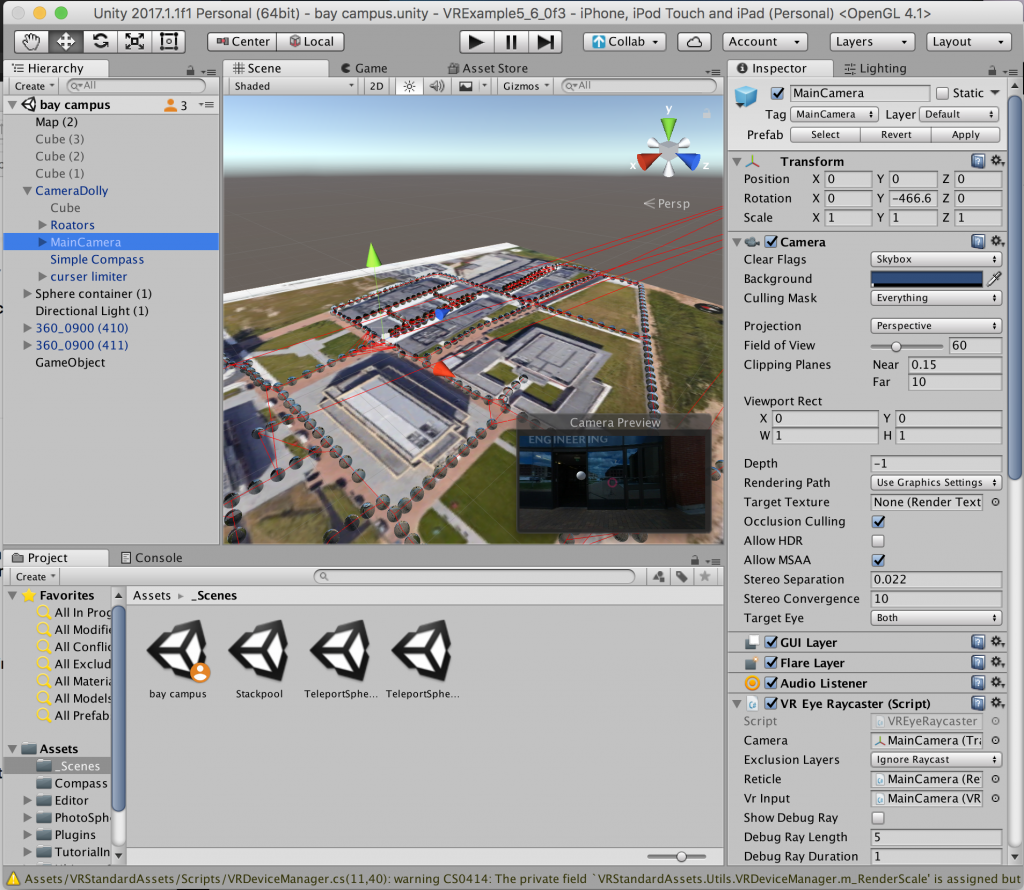
Version 1 of the Photosphere app is out!!!
https://github.com/SwanseaIMO/Tour360
Editing photos
For photos where photographer needs to be removed two photos must be taken without moving the camera and with the photographer in two different positions.
Open Gimp
Got to file->open as layers
Select the two photos (you can select multiple photos by holding down ctrl and clicking on each photo) and open them
In the window on the right side of the screen you will see both the layers, right click on the top layer select “add layer mask” and okay the settings
In the toolbox on the left side window select the pencil or the brush tool, and set the colour to black.
Now wherever you paint on the picture will show the layer underneath, so paint over the photographer to remove them from the scene
Once finished, navigate to File->export
Set the file type to jpeg and export the photo.
Stitching photos
The unity project requires equirectangular photos but the Samsung 360 outputs a double fisheye photo, to convert them we use the free tool gear360pano available from GitHub. To use this, you will have to install Hugin and if you intend to stitch video you will have to install ffmpeg and multiblend.
Download the gear360pao zipped file and unzip it in an accessible place.
Place the photos which need to be converted in the file
Open command prompt and navigate to the gear360pano folder, the easiest way to do this is to copy the file path of the folder and then in command prompt to type “cd” then press ctrl-v to paste the file path and press enter.
For individual images type “gear360pano.cmd nameofimage.jpg”
To convert all images in the folder type “gear360pano.cmd *.jpg” (any image already done will automatically be skipped)
The converted images are in html->data and will have _pano added to the name.
For videos the command is “gear360video.cmd nameofvideo.mp4”
And the videos are stored in the main folder with _pano added to the name.
Videos take a LOT longer than photos
Starting a new scene
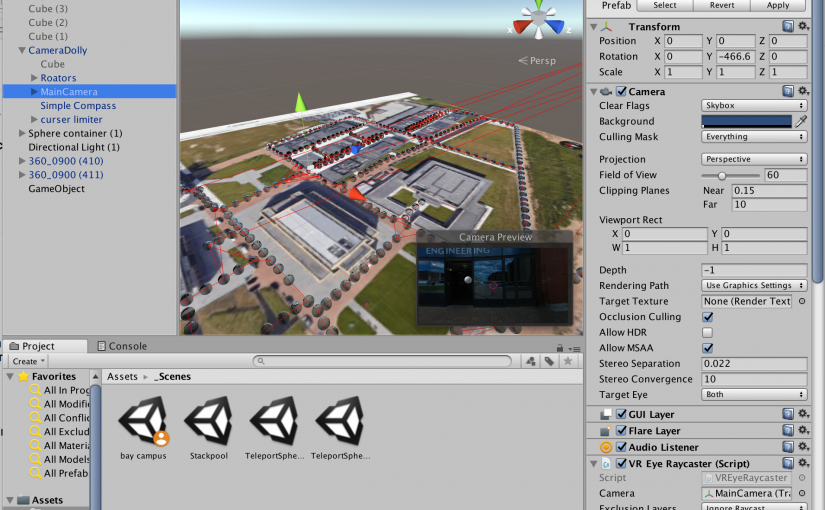
Delete the camera in the hierarchy window
To make a map
Right click in the hierarchy window and select 3D Object->Quad
Rename this to “Map”
With map selected, go to the inspector window, reset the location and change the x rotation to 90, this should position it flat. Change the y position of the map to -10, this allows the spheres to be located on y 0.
Increase the scale of the map in the x and y directions to a few hundred (you will be readjusting the scale again later)
To add an image to the map you must create a material using the image you want
First add the image of your map into the unity project
Then right click in the project window and select Create->Material.
In the inspector window with your new material selected change the shader to
Unlit->Texture.
Navigate to your map image in the project window and drag this into the material’s texture box.
Then drag your material onto the map quad in the scene.
Drag an instance of the prefab PSV4 into the scene and reset its y position to 0. You can then rescale the map such that the photospheres can be placed in the correct location without overlapping.
Position the photosphere on the map in the position where you would like the 360 tour to start, then drag the camera dolly prefab from the project window and place it in the photosphere in the hierarchy window so that it becomes a child of the sphere. Reset its transform so that it is in the centre of the sphere and then in the hierarchy window drag he camera dolly back out of the sphere so it is no longer a child. You are now ready to start placing more spheres and connecting them together.
Adding photospheres to the unity project scene
Import the converted 360 equirectangular photos into the unity project.
Navigate in the scene view to where you want the sphere to be placed, then drag an instance of PSV4 into the scene.
In the hierarchy window change the name of the sphere to something unique, a suggestion is the name of the photo you intend to put there.
Reset the transform y position to 0 and adjust the x and z position so the sphere is where you want it.
In the hierarchy window open the sphere and select the photoGimbal.
In the inspector, find the photosphere creation script, drag the photo you want from the project window into the photo selection box and click update sphere.
Rotate either the photoGimbal or the entire photosphere about the y axis so that the photo is in the correct orientation.
To connect sphere via teleports
Open the Photosphere and the open teleports in the hierarchy window.
Select one of the greyed-out switch to spheres and enable it by checking the box at the top of the inspector window, then scroll down to the teleport spheres script
Drag the camera dolly from the hierarchy window into the Dolly field and drag the target sphere into the Destination field, this will enable a one-way teleport to the target sphere, and a red line will be shown from the current sphere halfway to the target sphere.
Repeat the process from the target sphere to get a two-way teleport
The teleport little grey spheres themselves will automatically orient themselves to the correct positions based on where the photospheres are placed the first time the program runs, you can run the program in the project by pressing the play button. Once the camera loads press it again to stop and the teleports will be orientated.
