Implementing VR Eye-tracking and foveated rendering in Unity with the VIVE Pro Eye

Eye-tracking is set to become an important VR hardware feature over the next few years, offering many benefits including greater immersion, new analytical possibilities, and better performance.  With the recent release of the Vive Pro Eye, sophisticated eye tracking is now available built-in to a commercial VR headset for the first time. In this blog post I will show you the steps required to set up eye tracking with the Vive Pro Eye using Unity.  

First, create a new Unity project using the 3D template. For this example we are using Unity 2019.2.0f1. Once the project has finished setting up, import the SteamVR Plugin from the Unity Asset Store (https://assetstore.unity.com/packages/tools/integration/steamvr-plugin-32647). Once  imported, accept the recommended project settings when prompted. 

Next go to the download section of the HTC developer website https://hub.vive.com/en-US/download (you may need to sign up to gain access). From here download and install VIVE_SRanipalInstaller_1.0.3.0.msi.  After this, download SRanipal_SDK_1.0.1.0_Eye.zip and extract the contents. Within this folder you will find a Unity package file. Double click it and Unity will prompt you to import into your open project. 

penis büyütücü

After importing the package open the EyeSample scene contained within the ViveSR. This scene will allow you see you the eye tracking works in a simple environment. If the tracking doesn’t seem accurate you can launch the calibration settings from the Unity game window when play mode is active. For additional information on how to use Vive eye tracking for your project, checkout the PDF in the SRanipal_SDK_1.0.1.0_Eye folder.  

When using a headset that features eye tracking, we can implement foveated rendering to increase rendering performance. Vive provide their own implementation of foveated which is available on the Unity Asset Store (https://assetstore.unity.com/packages/tools/particles-effects/vive-foveated-rendering-145635). After importing the package, go to the Unity Player settings and add “USE_SRANIPAL” in the Scripting Define Symbols field. Then simply add the ViveFoveatedRendering.cs script on to the VR camera in your scene. To ensure that foveated rendering is working correctly, add ViveFoveatedVisualizer.cs to your camera. You should see the foveated targets following your eyes as you move them. 
VR Anatomy Application 2018 TB1 Version

VR Anatomy Application for students of Medical Engineering or Sport & Exercise – Current Version Anatomy 2019 Version 7

Get the current version 20190311AnatomyV7.zip

Created by

Developer Dr Marc Holmes

Academic Dr Laura Mason

Intro

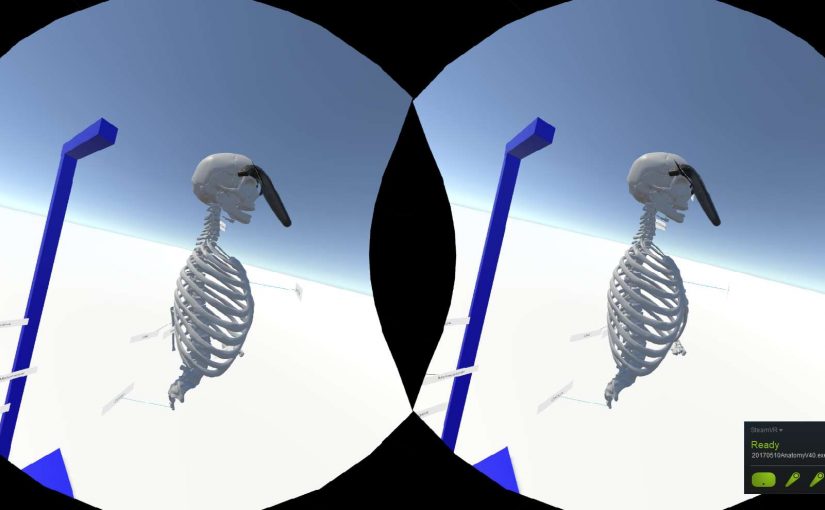
A full understanding of human anatomy is required of students. They required to learn a large number of terms which students typically struggle with using a traditional education model. Therefore the aim of this App was to create a VR immersive learning opportunity to help students to engage with anatomy material.

Content

The current versions 20190311AnatomyV7.zip

contains

  • Bone training, run time 3 – 30 minutes
  • Muscle training, run time 12 – 60 minutes
  • Muscles assessment, run time 10 minutes

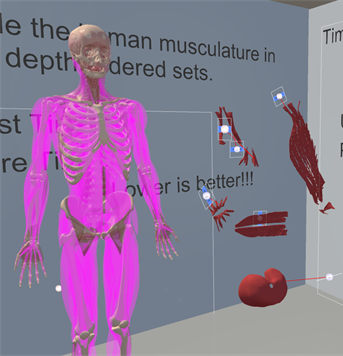
    Bones with floating muscles
    First Stage of the muscles training section vr
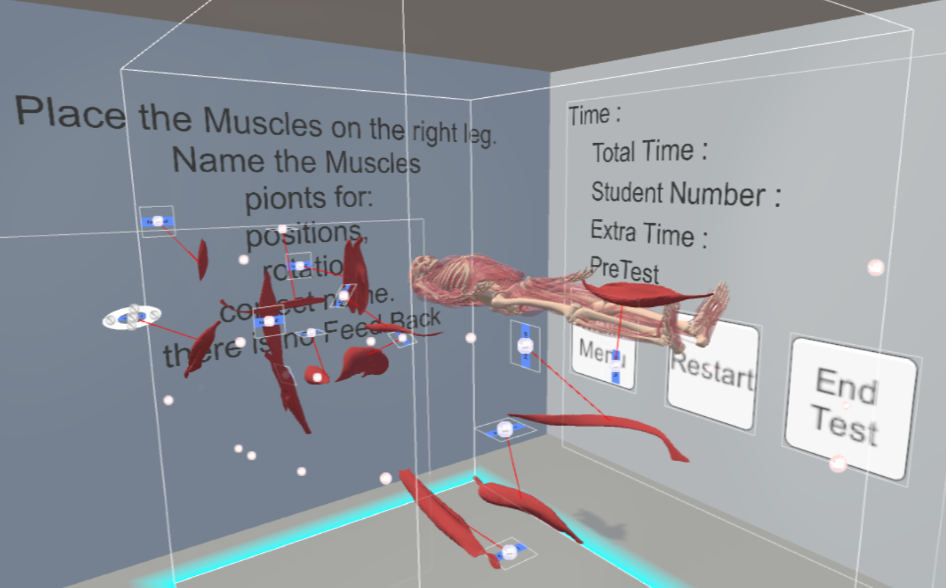
Bones with floating muscles in a VR test
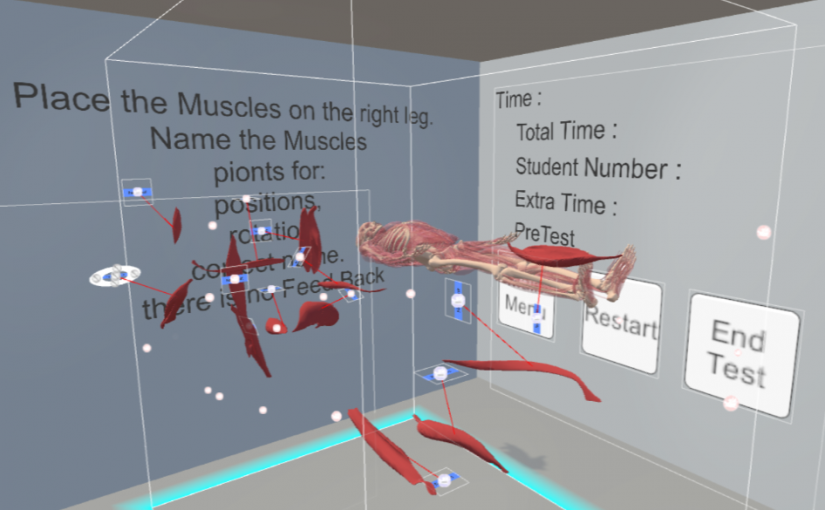
Muscles to be pined in VR on to the body for a test

Training instructions

  • This section is a formative assessment.
  • Take parts place them on blue hang man for bones or Muscles.
  • Parts will snap into place.
  • Name the bones with multiple choices, there is a time penalty of +30 second to the score clock for each wrong answer. a reward of -30 seconds to the score clock for getting it right.
  • Once all the bones in a set are placed and correctly named, then the next set will appear.
  • Repeat until finished
  • Return to the main menu to get the next training.

Assessment instructions

  • This section is a summative assessment, no feed back will be give until you finish the test.
  • There is 10 minutes to do the test.
  • There are 13 parts to place on the right leg of the skeleton, the left leg is semi transparent and has no effect on the test.
  • Place each muscle in the correct position (based on the center of bounding box) for 1 mark if with in 0.1 meter scaling down to 0.5 meters
  • Place each muscle in the correct orientation (based on the anchor transformation) for 1 point with in 7 degrees, 15 degrees for
  • Name each piece for 1 mark
  • there is no instant feed back

Controls

Triggers hold to grab bones, touch the bone your controller will buzz and should turn purple

Triggers to click to select multiple choices. touch the center of the mutiple choices to get options when not green

TouchPad (stick on oculus) when touch shows the UI Laser, point and click the trigger to select options on the wall such as Restart, Main Menu End Test

Grip button is the object grip it grabs all the objects in the scene, use this to return objects which have escaped (they turn x-ray orange

Recommended hardware

CPU : Intel I5
GPU : Nvidia 1070
RAM : 16GB
HDD : 200mb free
Monitor : 1080p 90hz or greater
HMD either: HTC Vive, Oculus Rift with Touch, Window Mixed Reality.
Required Software : STEAM and SteamVR,

If using WMR Requires Mixed Reality Portal installed and SteamVR for WMR as well

If using Oculus requires Oculus installed  and 3rd Party apps turn on as well

The minimum hardware

We have tested on a the following low end VR equipment.

CPU: intel i5
GPU : Radeon RX 480
RAM : 8GB
Monitor : 1600×900 60hz
HDD : 200mb free
HMD : HTC Vive
Required Software : SteamVR

Versions

Get the current version 20190311AnatomyV7.zip

Attributions

BodyParts3D http://lifesciencedb.jp/bp3d/ BodyParts3D, © The Database Center for Life Science licensed under CC Attribution-Share Alike 2.1 Japan

VRTK https://github.com/thestonefox/VRTK MIT license https://github.com/thestonefox/VRTK/blob/master/LICENSE

License

Creative Commons Licence
Assembly by Dr Marc Holmes is licensed under a Creative Commons Attribution-ShareAlike 4.0 International License.

This app is free to use, its has no DRM or user analytics enabled intentionally in version 20190311AnatomyV7.zip

Known bugs

  • WMR the controller hints do not point at the controller buttons location this is due to how SteamVR reports back location, will come up with a fix later.
  • Occasionally its possible to over ride the color of the prefab

Bug Report

Please send any bug reports to VirtualReality @ swansea.ac.uk with step to repeat them

I will try and fix them when I get time.

Regards.

Dr Marc Holmes

First look at Google Blocks

The recently released Google Blocks is a simple modelling tool designed around Virtual Reality. The modelling is based around placing simple shapes into the 3d environment, these can then be intersected and modified to create fairly complex low poly models.

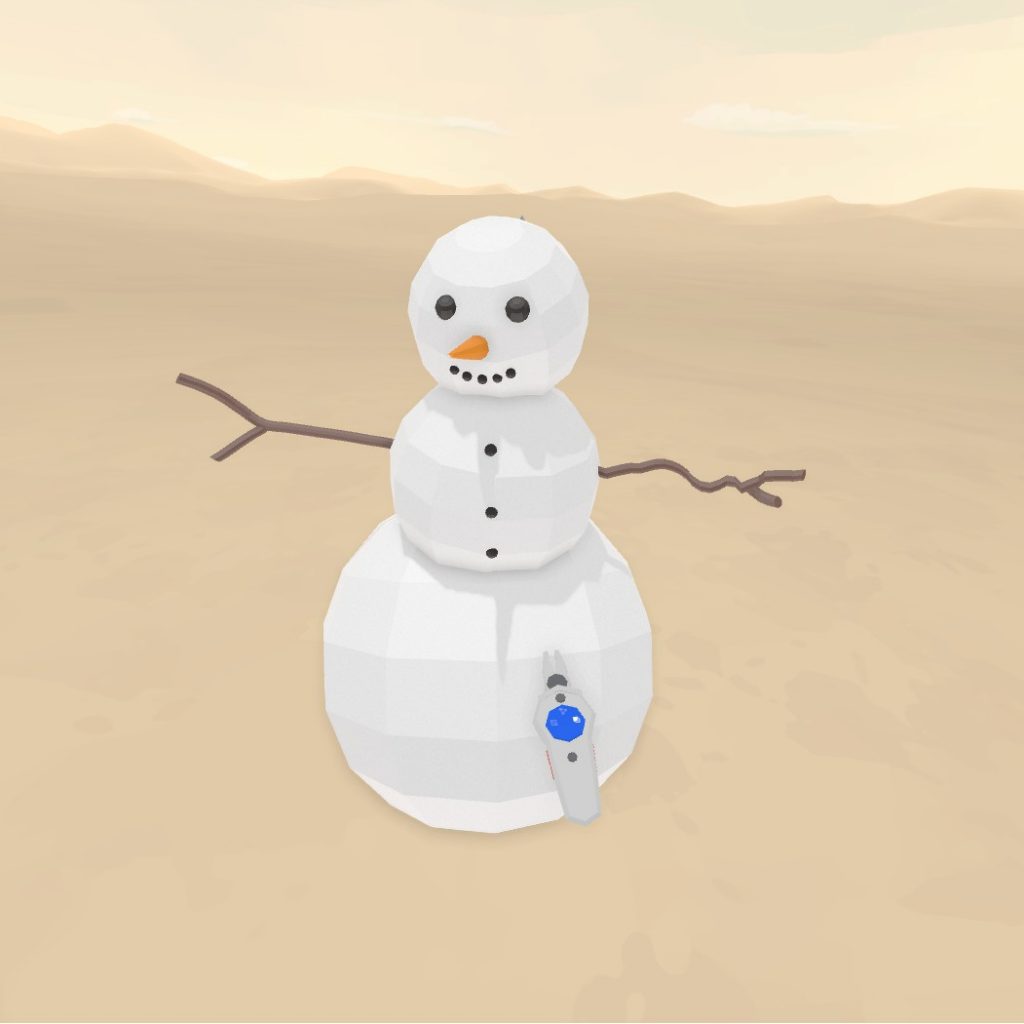
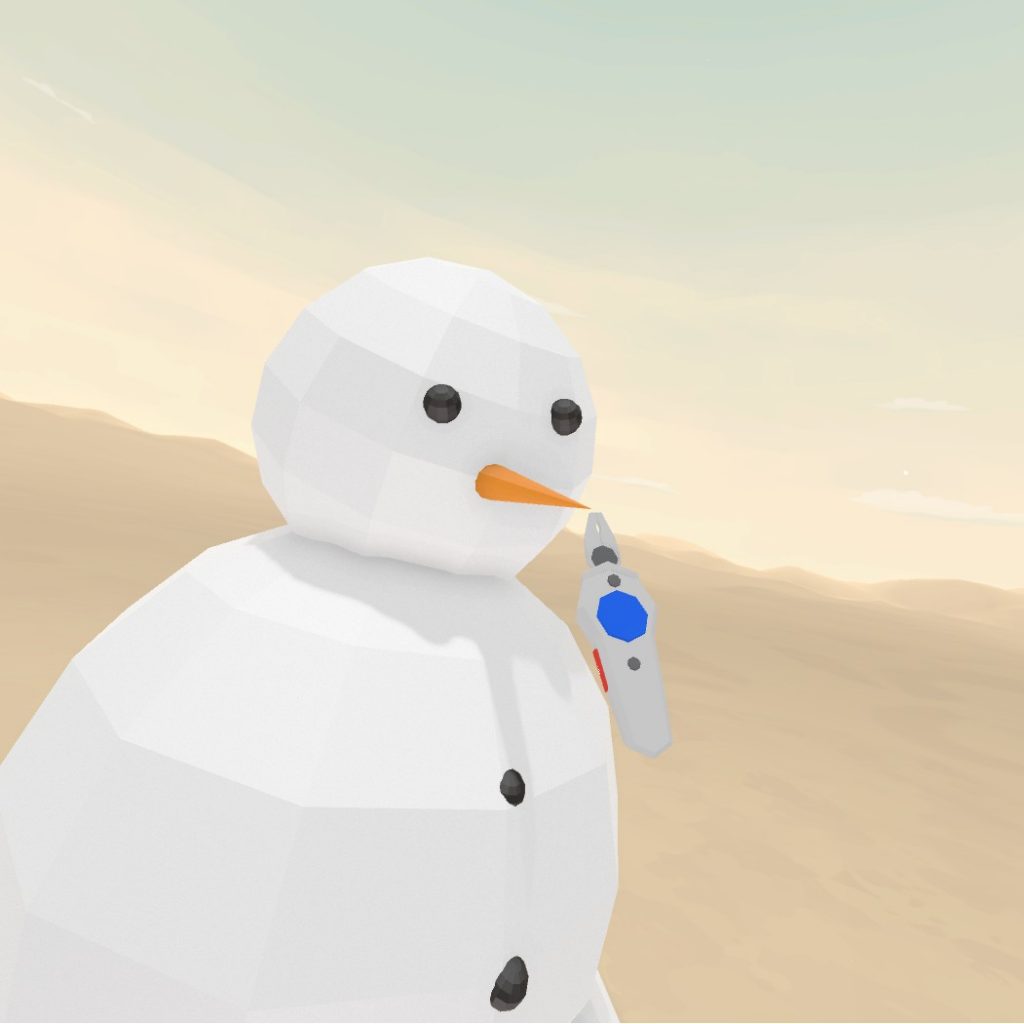
This snowman took just over a minute to build and shows how you use simple shapes to create the models.
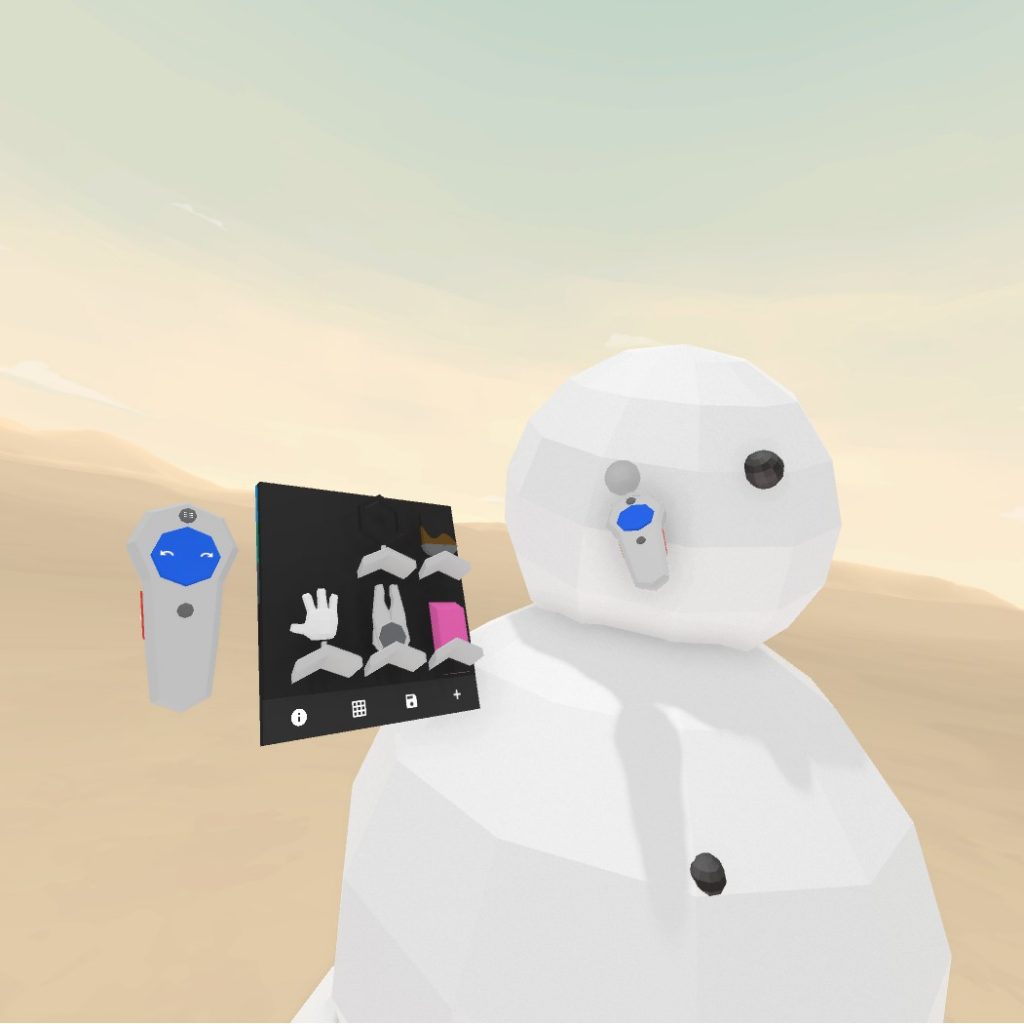
the entire modelling interface uses only six tools, making it very easy to get started.

The advantage of Google Blocks is its simplicity, the interface uses only six modelling tools which are intuitive to use making it very easy to start playing around with. The models you create can be saved as .obj models to your documents folder, making Blocks a valid modelling tool. You can also publish your models to Googles site where they can be viewed and downloaded. A reference Image can be added into the environment which is a valuable tool if wanting to create more detailed models.

Unfortunately the lack of tools the makes google blocks simple is also one of its drawbacks, creating more complex models requires a creative mind to combine and modify the given shapes into what you want, Google Blocks definitely fits Bushnell’s law: Easy to learn, difficult to master.

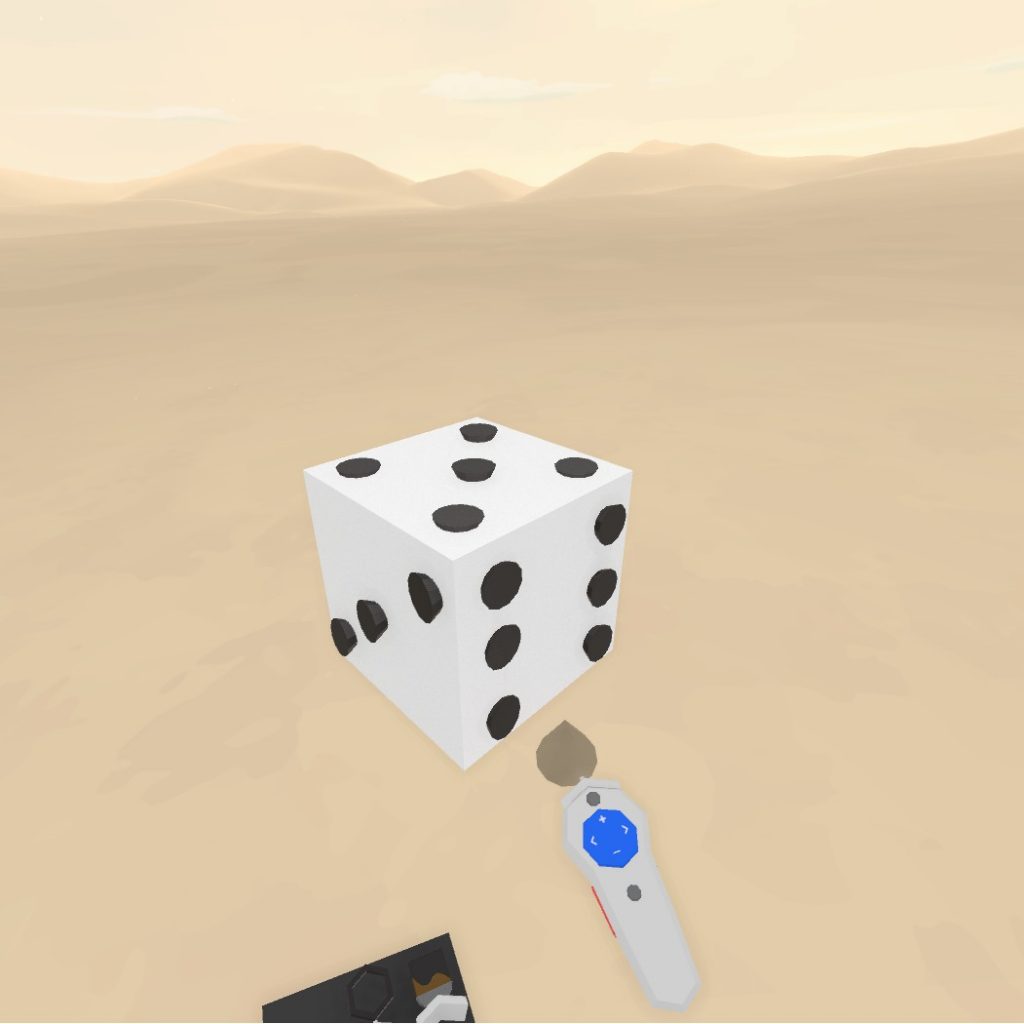
I could not find a way to remove material and so had to settle for protruding pips on this model. these where created by embedding a cone into the cube.

Overall Google Blocks is a great tool for anyone to get a taste of 3D modelling and can be used to create great low poly models, the limit being the creativity of the user in how they combine simple shapes to create their models.

using the modify tool to extend a cone into a carrot.
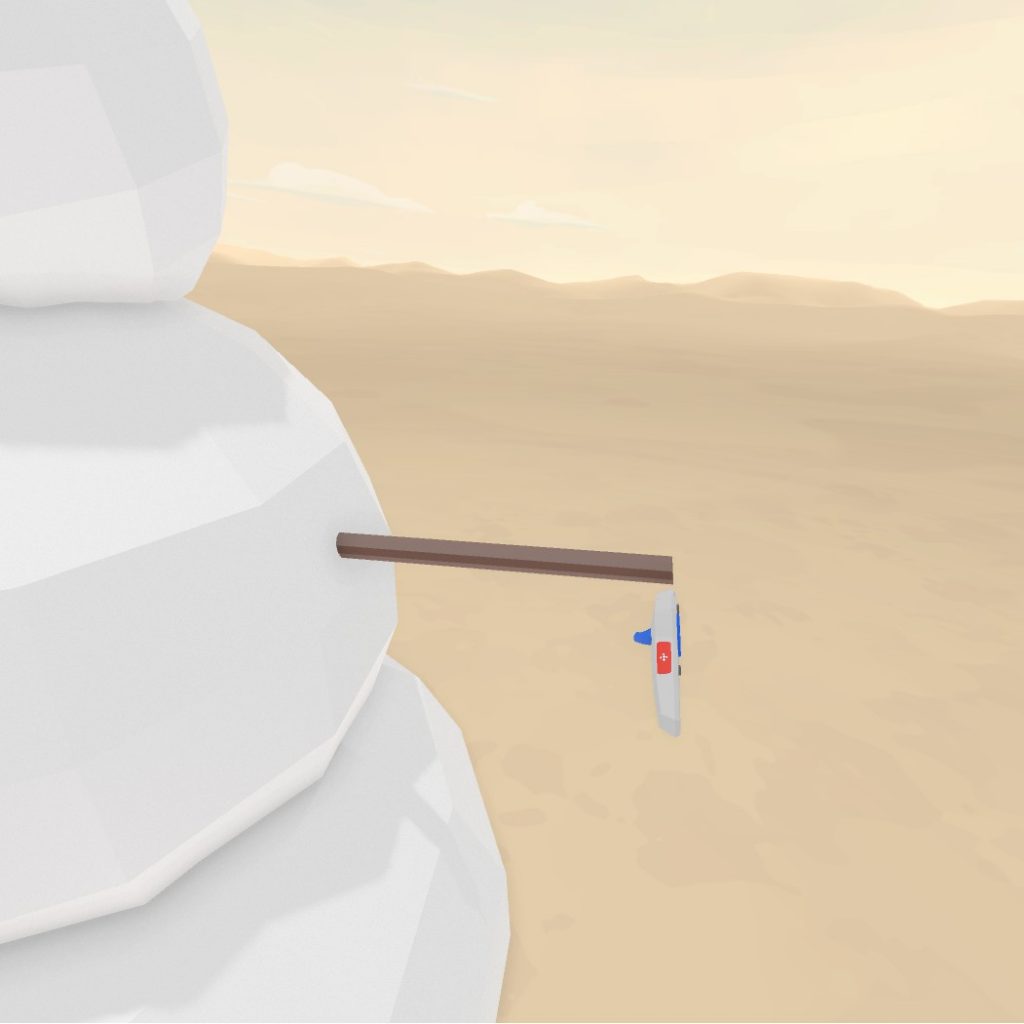
Using the stroke tool to draw out a branch arm.
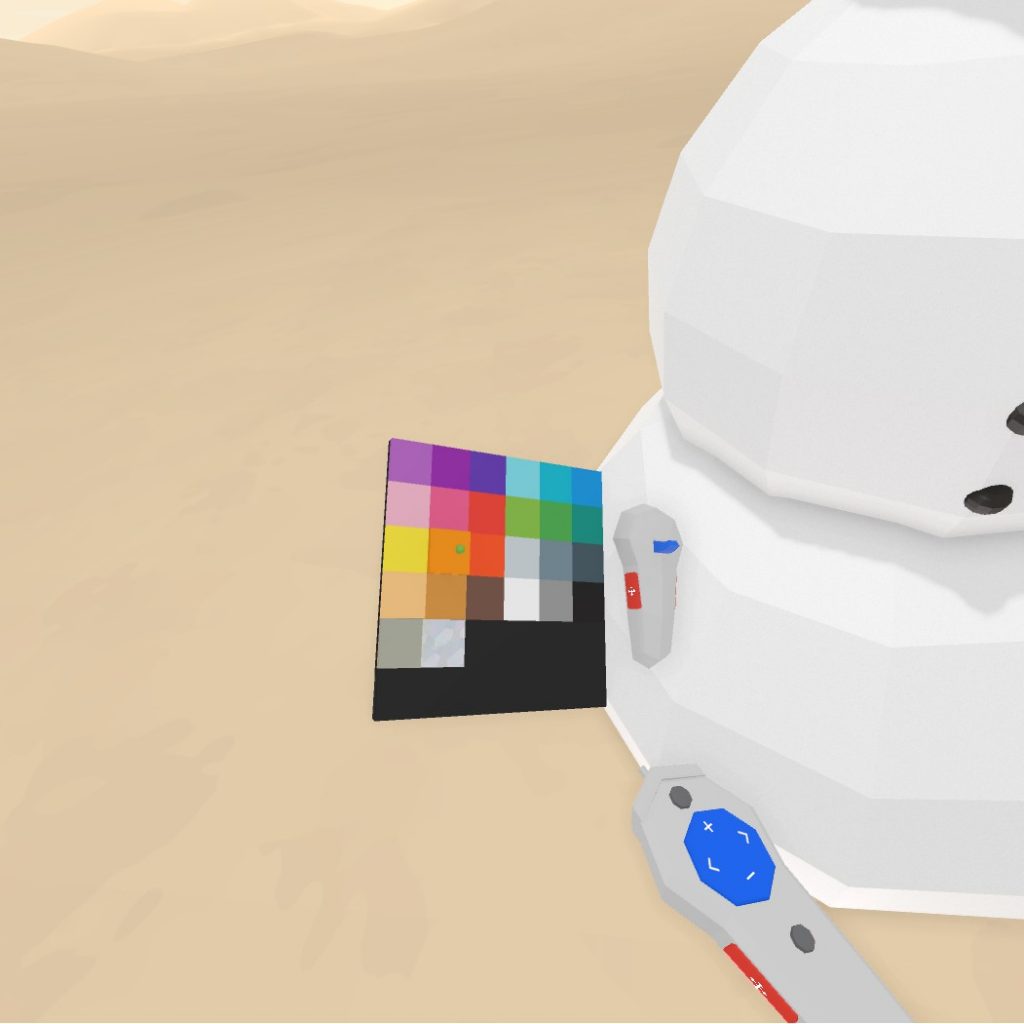
The colour palette is on the reverse of the tool selection box, none of the modelling tools require going into a menu to select.
VR Experience Photos

At the SALT conference the attendants got a change to explore VR we had a combination of apps from IMO’s own work and free examples.